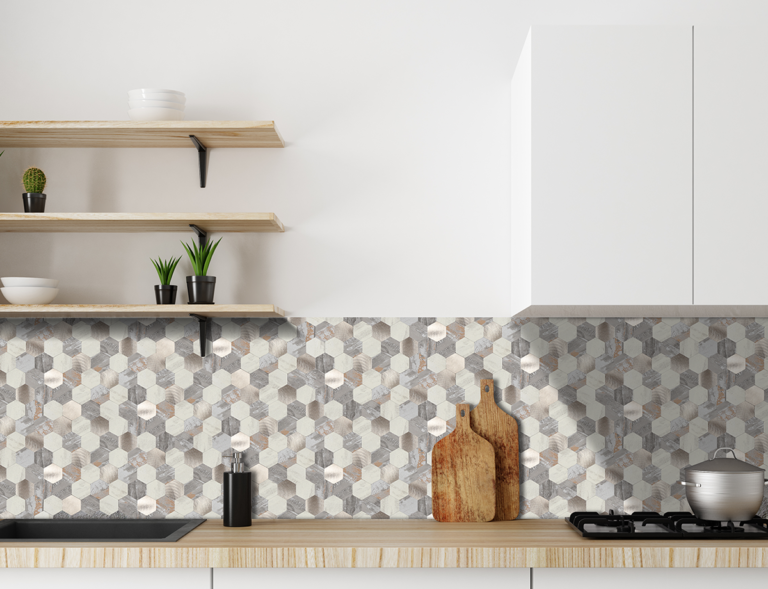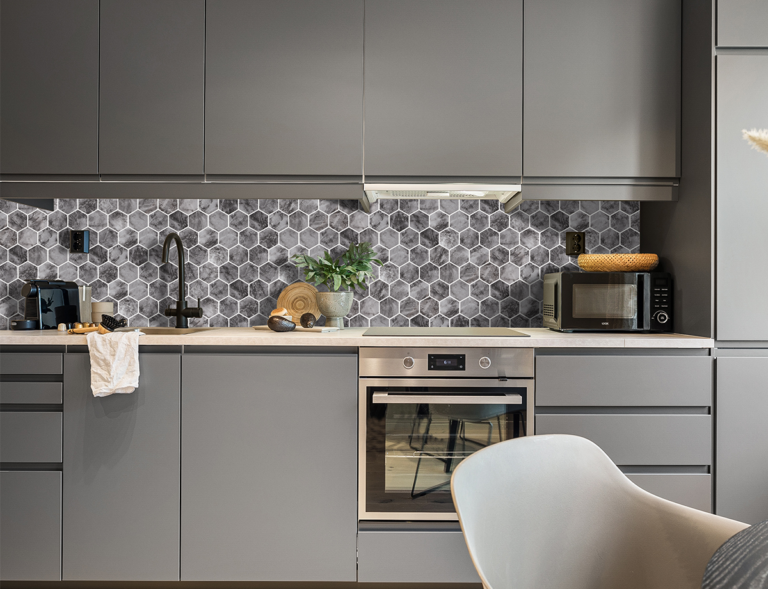
Peel and stick backsplash is a top pick for fast, budget-friendly kitchen and renter-friendly renovation. It needs no mortar, no grout, and cuts down installation hours for most DIY homeowners. However, many people end up with lifting edges, air bubbles, or uneven layouts because of simple installation mistakes. Below we break down the 10 most frequent errors and how to install peel and stick backsplash correctly for long-lasting results.
Mistake 1: Skipping thorough surface cleaning for peel and stick backsplash
Grease, dust, soap residue are the biggest enemies of peel and stick backsplash adhesive. Many DIYers only do a quick wipe and start sticking. Kitchen walls near stoves carry invisible cooking oil film that weakens bonding.
Fix: Clean the wall with degreaser, wipe with isopropyl alcohol, then wait until the surface is 100% dry before installation.
Mistake 2: Applying self adhesive backsplash tile on fresh painted walls
New paint needs curing time. If you apply peel and stick backsplash within 2–3 weeks after painting, the paint is still releasing volatile substances and not fully hardened. Tiles will peel off easily after a short time.
Fix: Wait at least 3–4 weeks for fresh paint to cure completely before tiling.
Mistake 3: No dry layout or level line for your peel and stick backsplash installation
Many people start sticking from the countertop without marking a level reference line. A tiny tilt on the first row will keep amplifying upwards, making the whole peel and stick backsplash look crooked. Skipping dry layout also leads to awkward small cuts at visible edges.
Fix: Draw a level line first; lay tiles on the wall without removing backing to test layout before final installation.
Mistake 4: Removing the entire backing sheet at once for peel and stick tile
Pulling off all the backing paper exposes the full adhesive surface. The tile sheet may stick to itself, attract dust, or shift out of alignment before you can position it properly.
Fix: Peel only a small section of the backing at a time, position the tile, smooth it down, then peel more backing gradually.
Mistake 5: Ignoring firm pressure and edge rolling
Simply placing peel and stick backsplash on the wall is not enough. Light touch cannot fully activate pressure-sensitive adhesive. Corners and edges are the first spots to lift if not pressed tightly.
Fix: Use a plastic squeegee or wallpaper roller to press the whole tile, especially the four edges, firmly after positioning.
Mistake 6: Poor cutting around outlets and corners
Cutting tiles freehand with dull scissors often creates jagged, messy edges. Many DIYers do not leave proper clearance around electrical outlets, causing gaps or overlaps.
Fix: Measure twice, use a sharp utility knife and straight edge; make templates for outlet cutouts to get clean, neat edges.
Mistake 7: Using peel and stick backsplash in high-heat zones
Most peel and stick backsplash tiles are not designed for direct contact with high heat from gas burners. Continuous heat will soften adhesive and cause curling or falling off.
Fix: Keep a safe clearance from stove burners; check product specs for heat resistance before installation.
Mistake 8: Installing on highly textured, porous or loose surfaces
Rough textured drywall, flaky paint, uneven brick or loose old tiles cannot form stable adhesion. Even if the tile sticks at first, it will lift soon.
Fix: Fill holes, sand rough surfaces, apply primer on porous walls; test adhesion on a hidden spot first.
Mistake 9: Not leaving curing time after installation
Many users clean, scrub or splash heavy water on the new peel and stick backsplash right after finishing. The adhesive needs time to fully bond.
Fix: Avoid heavy cleaning, steam and strong impact for 48–72 hours to let the adhesive cure fully.
Mistake 10: Underestimating water and steam exposure
Bathrooms and areas behind sinks have constant steam and splashing water. Ordinary peel and stick backsplash without waterproof coating will fail quickly in wet conditions.
Fix: Choose waterproof rated peel and stick backsplash for wet zones; seal edges with caulk if needed.
Final Tips
A perfect peel and stick backsplash relies more on careful prep than tiling skill. Avoid these easy-to-miss mistakes, and your self-adhesive backsplash will stay flat, neat and secure for years. If you are sourcing peel and stick backsplash tiles for renovation projects, always confirm surface suitability and product limits before bulk purchase.