.png)

Meta Description: Want a fast, mess-free kitchen backsplash upgrade? Check our complete peel and stick mosaic tile installation guide. Learn tools, step-by-step process, pro tips & maintenance for DIY kitchen renovation.Echo Mosaic is a trusted manufacturer of decorative tiles, backsplash solutions, aluminum mosaic panels and stylish wall coverings worldwide.
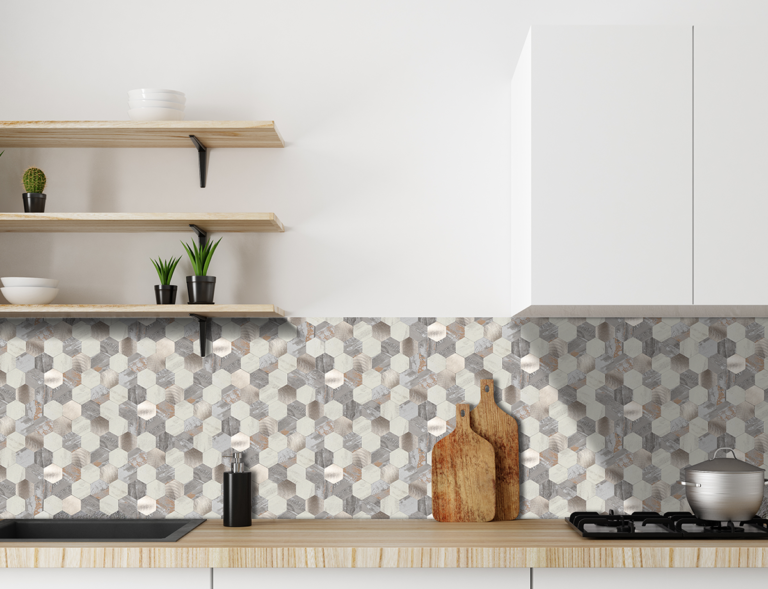
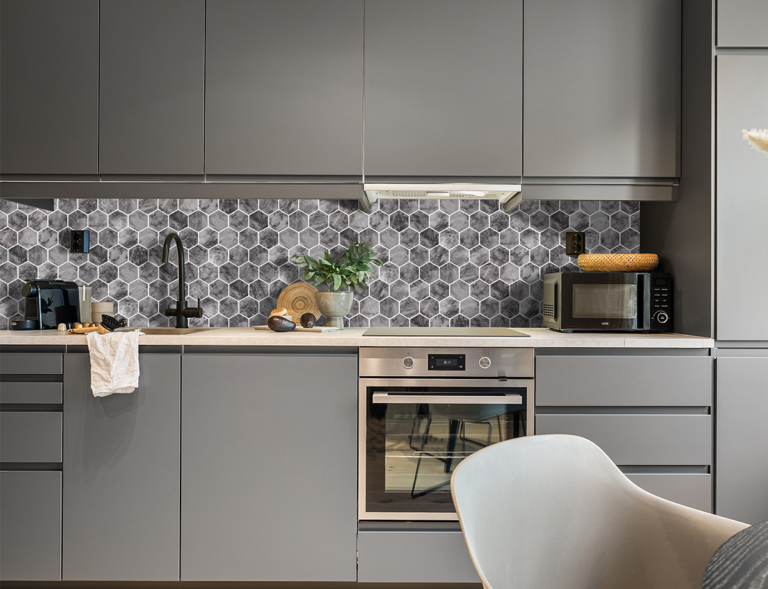
Renovating a kitchen backsplash is often considered time-consuming, messy, and expensive for most homeowners and small contractors. Traditional ceramic tiles require cement, grout, professional tools, and days of construction, which brings dust, noise, and extra labor costs. Fortunately, peel and stick mosaic tiles offer a perfect DIY solution. With no drilling, no grout, and no professional skills required, you can finish a brand-new kitchen backsplash in just a few hours. This complete installation guide will walk you through every step, from pre-installation preparation to final maintenance, helping you achieve a flawless tile finish easily.
1. Why Install Peel and Stick Mosaic Tiles for Your Kitchen Backsplash?
Before starting the installation, it is necessary to understand why peel and stick mosaic tiles have become the most popular choice for modern kitchen renovations. Compared with traditional tiles, self-adhesive mosaic tiles have unique advantages suitable for residential and small commercial kitchen projects.
- No Complicated Construction: Built with strong self-adhesive backing, no glue, no cement, no grout needed. Entirely eliminate messy construction waste.
- Time-Saving DIY Project: No professional experience required. One person can complete the whole installation within 2-3 hours for a standard kitchen backsplash area.
- Waterproof & Oil-Proof Performance: High-quality glass and resin mosaic surfaces resist kitchen oil stains, water splashes, and high temperature, ideal for stove and sink areas.
- Cost-Effective: Save a large amount of labor fees and material costs. It is an affordable renovation option for rental houses, home upgrades, and short-term kitchen remodeling.
- Removable & Repositionable: Premium self-adhesive tiles can be removed without damaging the original wall, convenient for style replacement and secondary decoration.
2. Tools & Materials You Need for Installation
One of the biggest benefits of peel and stick mosaic tile installation is that it requires almost no professional construction tools. Prepare the simple items below before starting to ensure a smooth installation process:
- Peel and stick mosaic tiles (calculate the area in advance and prepare 5%-10% extra tiles for cutting mistakes)
- Clean cloth and alcohol/cleaner (for wall cleaning)
- Utility knife or scissors (for tile cutting)
- Ruler and pencil (for positioning and marking)
- Squeegee or clean towel (for pressing tiles to remove air bubbles)
3. Step-by-Step Peel and Stick Mosaic Tile Installation Guide
Follow these standard steps to install your kitchen backsplash mosaic tiles perfectly. Strictly following the process can avoid air bubbles, uneven sticking, and tile falling problems.
Step 1: Wall Surface Preparation (Most Critical Step)
The adhesion effect depends entirely on the cleanliness and flatness of the wall. First, turn off the kitchen stove and avoid working near high-temperature surfaces. Wipe the backsplash wall thoroughly with alcohol or degreaser to remove oil stains, dust, water marks, and loose paint. Make sure the wall is 100% dry, flat, and smooth. Rough walls, damp walls, or walls with residual oil will lead to weak adhesion and tile falling off later.
Step 2: Measure and Position the Layout
Use a ruler to measure the height and width of the kitchen backsplash area. Plan the tile layout in advance, start tiling from the horizontal bottom line of the countertop, and keep the overall alignment uniform. For irregular corners, socket positions, and edge gaps, mark the cutting range with a pencil in advance to ensure accurate pasting.
Step 3: Cut Tiles According to Actual Needs
For edges, socket openings, and corner positions, use a utility knife or scissors to cut the mosaic tiles. It is recommended to cut slowly along the marked line to avoid mosaic particle falling off. Our peel and stick mosaic tiles adopt flexible overall mesh design, which is easy to cut and will not scatter small tiles, greatly improving the installation efficiency.
Step 4: Peel Off the Backing Paper and Paste Tiles
Tear off the entire backing paper of the tile gently, do not touch the adhesive surface with your hands to avoid dust adhesion. Align the tile with the marked position, paste it from bottom to top, and fix the four corners first. Keep each tile closely spliced without gaps or overlapping.
Step 5: Press Tiles to Remove Air Bubbles
After pasting each tile, use a squeegee or clean towel to press the tile surface firmly from the center to the surroundings. Completely discharge internal air bubbles to make the adhesive fully fit the wall. This step is the key to ensure long-term firm adhesion of the tiles.
Step 6: Edge Finishing and Inspection
After all tiles are pasted, check the overall flatness, splicing gaps, and edge firmness. Trim the excess edges and press the loose parts again. Let the tiles stand for 24 hours to make the adhesive reach the best bonding effect before daily use.
4. Pro Tips for Perfect Kitchen Backsplash Installation
- Avoid High-Temperature Construction: Do not install tiles when the stove is hot. High temperature will affect the viscosity of the adhesive and reduce service life.
- Do Not Paste on Freshly Painted Walls: Newly painted walls need to be dried for more than 30 days before tile pasting, preventing paint peeling and tile falling.
- Reserve Reasonable Splicing Gaps: Appropriately reserve tiny gaps according to the wall environment to avoid tile arch deformation caused by thermal expansion and contraction.
- Install in Dry Environment: Do not install in humid or rainy days, ensuring the maximum adhesion of self-adhesive tiles.
5. Daily Maintenance for Peel and Stick Mosaic Backsplash
Our peel and stick mosaic tiles are designed for kitchen scenarios with strong stain resistance and water resistance. Daily maintenance is extremely simple. Wipe the tile surface regularly with a wet cloth or neutral detergent to remove oil stains and dust. Do not use sharp hard objects to scratch the surface, which can keep the tiles bright and new for many years. Different from traditional tiles, no grout cleaning and gap maintenance are needed, saving daily cleaning time greatly.
6. Final Words & CTA
Peel and stick mosaic tiles are the best DIY solution for fast, low-cost, and mess-free kitchen backsplash renovation. With simple installation, excellent waterproof and oil-proof performance, and diverse stylish designs, they can greatly upgrade the look of your kitchen and improve space texture in a short time.
If you are looking for high-quality wholesale peel and stick mosaic tiles for home renovation, interior design projects, or commercial bulk orders, we provide factory direct sales, competitive prices, low MOQ, and global shipping service. Contact us now to get free samples and the latest wholesale price list!